
Installing a Roller Furler on
my Tanzer 22
Why Install a Furler?
I sail solo mostly. Sweety has shown no great eagerness to join me and people have busy lives.
A while ago I was on the deck raising the jib and got caught in a big sideways rogue wave. The boat was just fine. I got thrown on the deck and got mildly hurt and bruised. No real damage but I was frightened. This happened in about 10 knots of wind on a mild day.
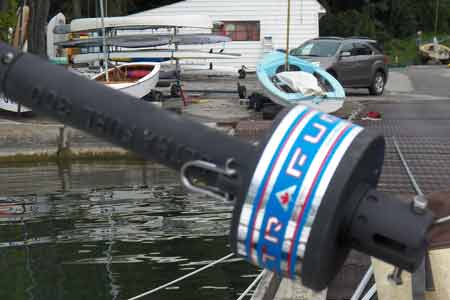
I chose an Ultra Furl system because I know the owner/designer and several of his roller furlers are in use at my club.
I arranged to get the furler, a new sail and installation. Knowing the owner helps ensure follow up help if I need it. It comes with a 5 year warranty. Not bad.
The furler sits on top of the fore stay and the stay turn-buckle can be adjusted if I want to change the tension of the rig. One of the nice things is that the furler can easily be installed with the mast up.
Without rushing it took about 2 hours to install the new furler and genoa.
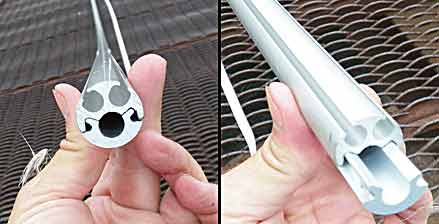
The furler extrusion fits on top of the fore stay. It comes in 2 parts that slide together. This allows the furler to be installed on the stay with the mast up.

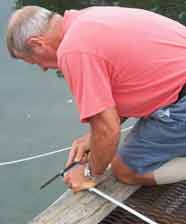
Heider's first step was to brace the mast using the jib halyard attached to a cleat. Since the fore stay needed to be disconnected for a minute to thread on the furler unit we did NOT want it to fall backwards! He quickly re connected the turn-buckle and the mast was again supported by the fore stay. He then hauled up a long measuring tape along the fore stay to measure the exact length of extrusion needed.
After cutting and sanding the extrusion he attached a cone bearing and an un-named top piece. This is what the halyard attaches to and what the sail attaches to. I took the photo as he was threading on the furler unit so they seem to be running horizontally. The extrusion will be placed between these 2 parts.
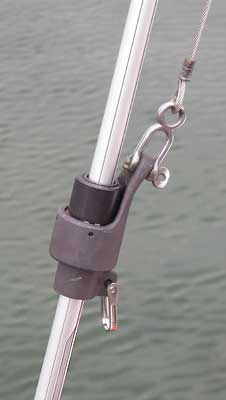
Detail of the top unit. The jib halyard has been attached and the extrusion has been installed. The sail attaches to the u shackle. At the bottom of the image the slot for the sail can be seen.
A length of line has been wound on the furler and led to the cockpit.
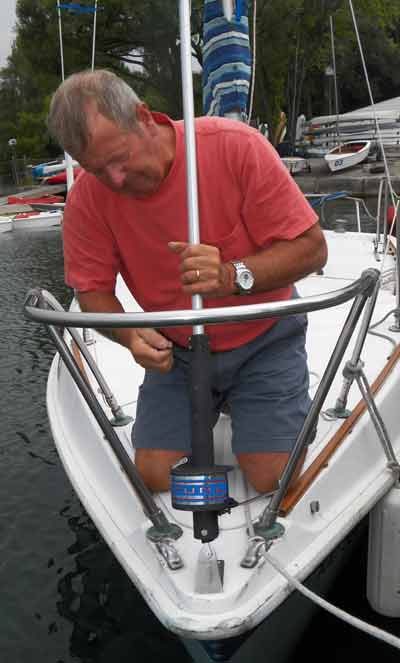
Fastening the roller furler unit to the extrusion after making sure the forestay was secure and the cotter pins were securely in place. The cone with bearings is hidden under all this. The cone / bearing facilitates the smooth turning of the unit.
The sail was attached to the bottom the top unit and the roped side was guided through the extrusion slot. The sail was gently raised by pulling on the halyard.
The sail has a band of UV protected cloth on the edge. When the sail is furled it is protected by this band of cloth. I'm told this is not the best because it interferes with the shape of the sail but I prefer the convenience to a better shaped sail and having to cover it separately. I guess I'm just lazy!
At this point it started raining and it looked like more was coming so the photos are not so good.
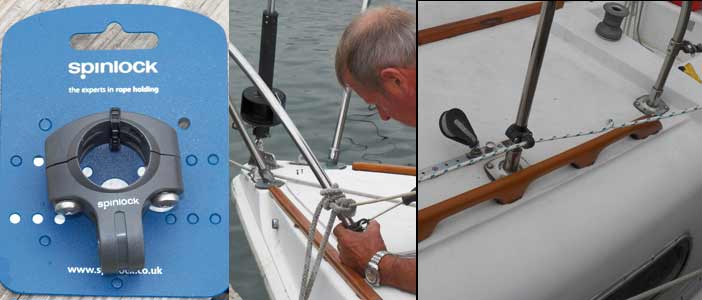
After installing 2 fair-leads to guide the furling line to the cockpit, the line was threaded through. There was line still left wound on the furler.
The fairlead positions might be changed when I get some cleats for the lines. I want to ask around the other members to see what cleats work well for a furler and where they should be installed.
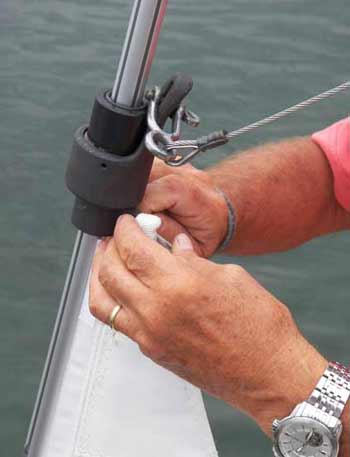
Attaching the sail on the top unit. The roped edge gets fed through the slot of the furler extrusion.
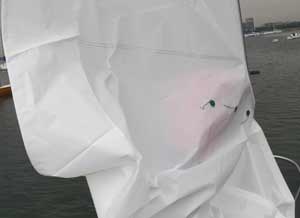
The sail is gently hoisted. The thicker UV resistant strip is visible on the left.

By pulling the furling line the extrusion turns and wraps the sail neatly on the fore stay. All this from the cockpit. To unfurl the sail pull on the jib line and out it comes. A small amount only can be set if there is a lot of wind, or the whole sail if there is less wind.
Heider warned me that it was important to keep the furling line cleated when the boat is just moored, otherwise the sail can unfurl if there is a strong wind and shred itself happily flapping in the wind.
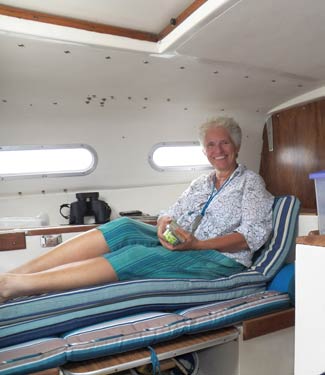
Took the boat back to its mooring and by then it was pouring. I went and sat on my cushions and had some lunch. It was cosy and pleasant in my little boat with the rain tapping on the roof. it's nice to be able to just sit there and watch the rain through the door. No rain was coming in because the boat automatically points into the wind and this also drives the rain just beyond the hatch.
Next...I try out my new roller furler and go sailing >>
Ultra Marine Limited supplied me with my Ultra Furl Furler and installed it. Service was good and price was appropriate. Contact Heider 905-990-1227 if you are in Ontario, Canada and need a furler. They ship too. This is not a paid ad. I am a satisfied customer.
email me if you find mistakes, I'll fix them and we'll all benefit: Christine
 Sail Related Nautical Terms
New article on Anchor styles, and anchoring
Replacing the Bulkheads and damaged chainplates on my Sailboat
My new winter cover is mde of PVC pipe framework and a tarp.
Teach Yourself to Sail
Ten Essential Knots every boater should learn
Replacing the Rotten Core of the Tanzer22 Cockpit
Making Cockpit Cushions for my Tanzer boat
Comparison of different materials used for boat ropes
Nautos furlers:
Are you thinking of getting a boat?
Some of my photos including boats from around Toronto
Article on Varnish What is it made of and what do the various ingredients do?
Article on anti fouling paint used on boat hulls to prevent growth.
Keel boat launching day at our boat club
I experiment with sailmaking with varrying amounts of success!
Small Print
This information is for general knowledge. I have had good success with this furler. If you decide to buy it make sure it is adequate for your needs. Use your head and do your research.