
Here are links to other steps of the Puddle Duck Build
- Part One, What's a Puddle Duck? and I get Started
- My Puddle Duck Racer goes 3D It's official, I get my hull number.
- Next, I add flotation compartment.
- Bottom gets fiberglassed and Gunnels are added.
- Daggerboard case and seat get made.
- Making the daggerboard.
- Adding weight to the daggerboard
- Making the kick up rudder along with a tiller.
- I made a wooden sprit
- Finishing the carbon fibre mast I made a few years ago.
- Replaced the Broken Carbon Fibre mast with a wooden one.
- My PDR gets a mast step, plus side and front decks and more glass
- Finally Finishing the hull
- The Duck gets some hardware
- I make a Sail for the Puddle Duck
- My Puddle Duck Gets Launched!!
Time to make a rudder
Because my new boat club is on a shallow bay and the water is very shallow with a couple of sand banks thrown in, I decided that a kick up rudder would be a very good choice.
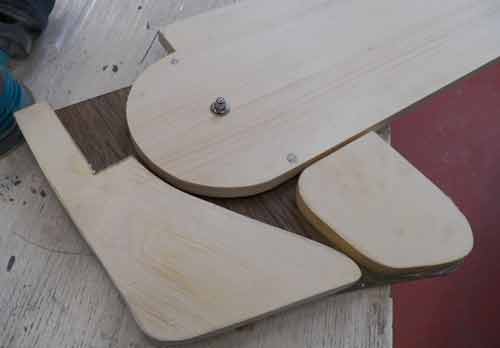
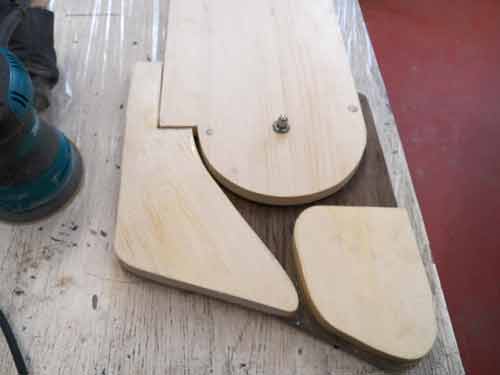
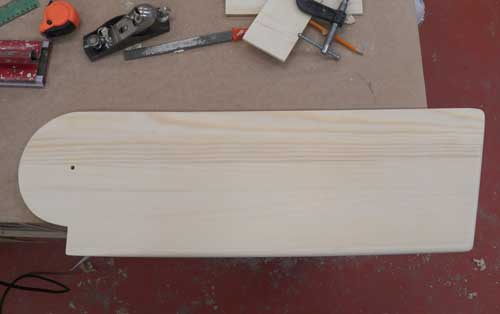
It took a bit of time to figure out the inner workings of the rudder so it would pivot up and down smoothly. I made cardboard templates first then cut it in wood.
The left attaches to the boat (with gudgeons and pintles) and the bottom of the image will actually face the sky. The rudder blade is at the top end of the image.
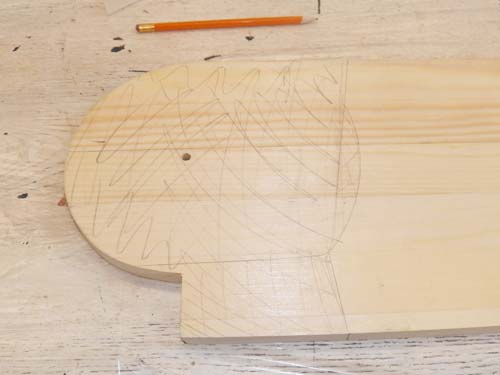
I had drilled holes at the pivot point and put in a temporary bolt to check the fit. It seems to be working.
The 2 pencilled in black spots are where I will be attaching the lines that pull the rudder down, and up. They will thread through the slot and attach to a cleat at the top (shown at the bottom) of the rudder case.
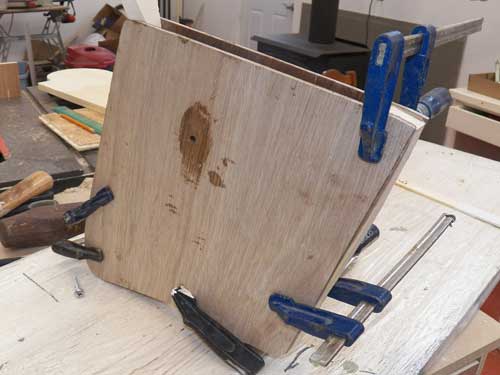
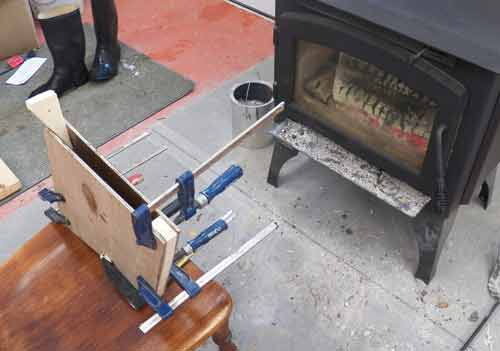
I coated the parts with epoxy and using thickened epoxy I glued the rudder case together. I used the pivot hole to guide in the position. After clamping I removed the bolt so that it would not be stuck.
The room was cool so I placed the clamped case in front of the fire in the hope of setting off the epoxy quickly. I had hoped to finish shaping the case today but the epoxy is still too gummy and would clog up the sanding disk I plan to use to even up the sides. Instead I went on to shaping the rudder blade.
Once again I used a block plane and hand sander to shape the edges of the blade.
I thinned the area which will fit in the rudder case by about 1 mm. so that the blade would fit after I put a layer of fiberglass on the rudder. The pine is nice to shape but not strong enough. I think it would warp if any water got in, or if it got left in the sun. Better to fiberglass. The glass will also increase the weight and help avoid the blade lifting because it floats too much.
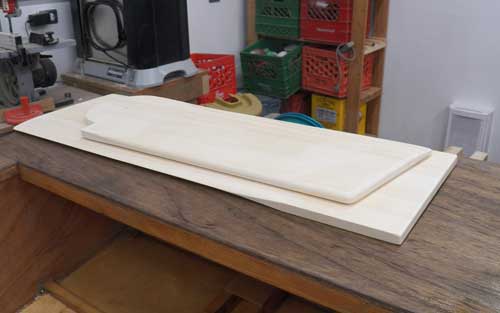
The rudder and daggerboards are shaped and waiting for a coat of fiberglass cloth.
The rudder will get holes at the top to make a handle and maybe some weights. The rudder still needs holes to attach the lines that will pull up or pull down the rudder.
The Rudder case has been cleaned up of squeezed out epoxy and all the sides are even and sanded. It is now waiting for some more epoxy. It needs a tiller!
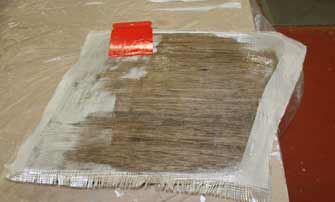
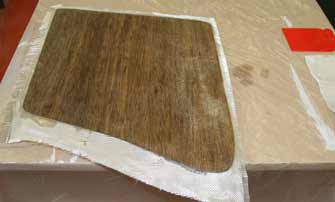
Because I used 1/4 inch thick plywood for the rudder case it is bendier than I want so I applied a layer of fiberglass to stiffen the assembly.
After warming up the shop, (It's minus a million degrees outside) I mixed up some epoxy and applied some fiber cloth. I used a plastic spreader to wet out the cloth and it worked really well. I think it is easier than a paintbrush and applies quite a thin coat of resin. I'll trim the extra tomorrow morning before it has the time to really set.
After trimming the cloth I put another coat of epoxy to fill the weave. A quick sand and the case is ready for paint.
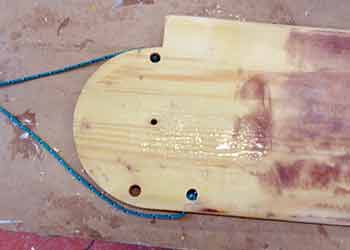
I put in lines and after making a test assembly, I found that the rudder was not lifting quite high enough because the hole for the lifting line was too high. I made a new hole and the blade worked as expected.
I filled the first hole with epoxy filled with wood dust and sanded it smooth.
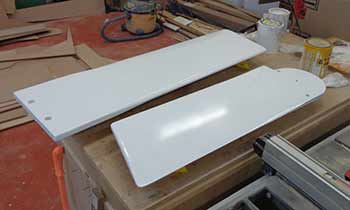
After sanding the foils quite smooth, I put a couple coats of paint. I'm using brightside polyurethane. I had some left over from painting the cockpit of the Tanzer. Nice paint and 2 coats covers perfectly.
I also painted the case with a couple coats of yellow. All the rudder parts are finished and I can put it together and install it on the boat.
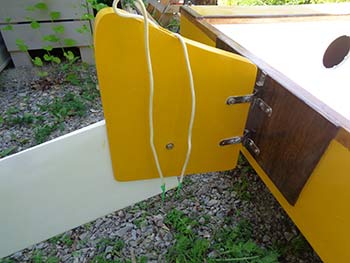
I used a hex bolt with an acorn nut to put together the rudder. I had some nice 1/4 inch line and used that for the up and down lines. It does not really make much difference if they are the same colour because one is almost always cleated so I know which one is doing what.
I installed pintles and gudgeons. I was making very exact holes using a drill press and found that the factory holes of the pintles were not perfectly lined up. Annoying but not tragic. I had to re-drill some and fiddle with it.
Because I did not have a very thick piece of wood in the case I drilled another hole in the pintle so I could bolt it in 2 spots.
No problems with the gudgeons. One of the pins was very slightly crooked but no issue. I used nuts and bolts so everything is solid. I'm using 3M 4200 as bedding compound. I still can't use it without gumming up everything around.
I also installed a small lock at the top to keep the rudder from jumping out. It's just a small L shaped piece that gets screwed on top of the pintles and pivots to lock in the rudder.
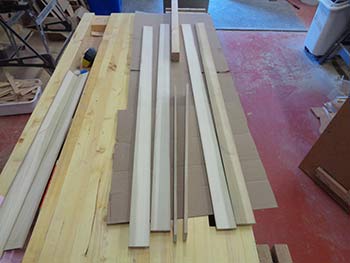
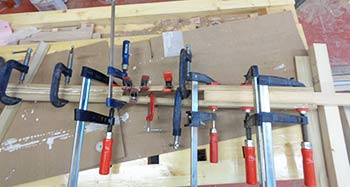
I had some nice boards and I cut some thin slices to make a tiller. I plan to laminate the tiller so that it branches to each side of the rudder case. I used waterproof wood glue. I had cut a spacer the same thickness as the rudder so that I could clamp and get the curve.
The tiller is oversize so I can shape it after it has set.
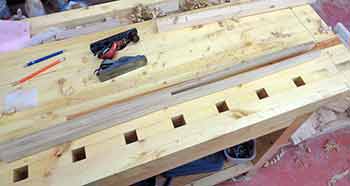
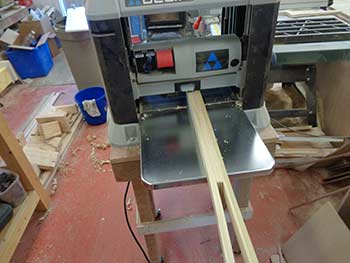
Some of the boards had warped when I cut them and were sitting proud so I planed the tiller. This removed the extra squeezed out glue and flattened out one side. I put the assembly through the planer and flattened out the tiller blank.
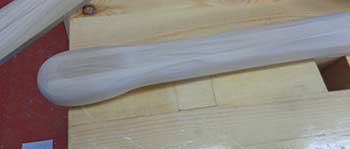
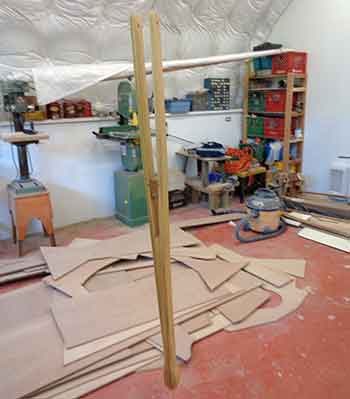
I used the bandsaw to shape the tiller, later I used the sander with really coarse paper to finish shaping. A bit more finer sanding and a couple coats of varnish finishes the tiller.
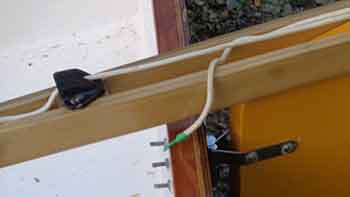
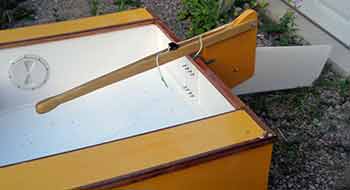
Drilled through the tiller and rudder, and used a bolt to fasten the tiller on. I used several washers to space the tiller slightly away from the rudder case. The tiller pivots up and is tight enough to stay up.
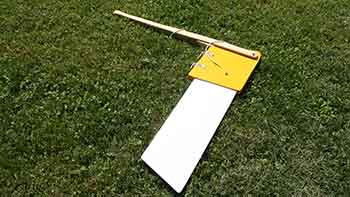
The rudder assembly is complete and the lines are working well to lower and raise the rudder. This complete the boat.
I can now put it all together and go sailing.
I got the mast and sail on and started putting the lines on. I had roughly tried them and I re-knotted and moved a few things. It's good enough for a launch.
Last night I installed rowing hardware. It was annoying, the socket was supposed to be able to handle a half inch oar lock but it had been poorly machined and there were small rings inside. I had to grind and sand these out before the oar locks fit in. They fit now.
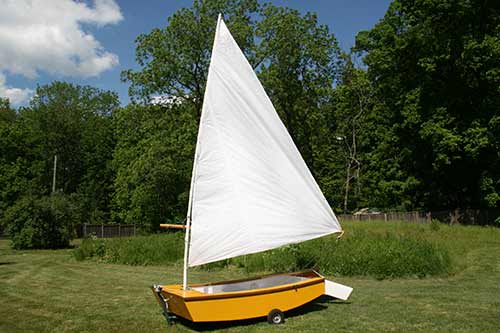
I expect I will fuss with the rig and fine tune the various bits, but the boat is essentially complete. I'll put her on the trailer and bring her out to the lake.
It's an odd feeling completing a boat, sort of happy but sort of sad too. I Launched the Puddle Duck, the next day.
emails: Christine
This web site reflects my personal ideas and doesn't represent anyone else's point of view.